Stair Remodel: Before and After Transformation
When we bought this house, we made a list of things that needed to be done to update it: stairs, window replacements, kitchen remodel, and the yard. We were finally able to start tackling that list – partially out of financial readiness, partially out of an urgency that comes with a newly mobile baby.
Editors note: TIME FLIES! That newly mobile baby is now a 7-year-old! I’ve updated this post to answer many of the common questions I’ve gotten about this project, and years later, I haven’t changed, or wanted to change, a thing about this space!
Staircase Remodel Before And After
Transform your staircase with a stunning remodel! Witness the remarkable before and after pictures of staircase makeovers that will inspire you. Enhance your home’s aesthetic appeal and increase its value with these impressive staircase renovation ideas. Get started on your staircase remodel project today!
Our Staircase Before the Transformation
Our house was built in 1979, and the stair railing and windows were original. The stair risers were carpeted and open when we bought the house – Brady Bunch style. Before we moved in, our flooring contractor enclosed them when he was putting in the wood floors.

The railing was iron and wobbly. It looked dated. The balusters were so far apart that a small child (or animal) could easily fit through them.

My husband rigged it with mesh and rope to make it safe for the time being but after two years, I had had enough of his decor.

I did the usual scouring of Pinterest and Houzz to find examples of what I wanted. My style is more traditional and timeless than it is modern or trendy. I wanted something more craftsman than midcentury for this project, especially since this was at the center of our home, quite literally, and one of the first things you see when you walk in the front door.
How to find a contractor
Where do you even start to find someone who does stair railings? I started with the free local home magazines that we get from time to time. They had a few companies advertised that specialized in this work. And I did a Google search. Experts recommend getting three bids for any project, and I completely agree. I’ve found that you’ll always get one that’s way out there with their price and then two that are comparable. Then it’s a matter of who you trust more to do the work.
That’s been true for most of the updates we’ve done to this house, and this time was no different. All the contractors I spoke with were in the same ballpark regarding price. The job went to the person I felt most comfortable with getting the job done right. He came to the appointment prepared, was knowledgeable about the work, and had samples of past jobs and materials that would be used.
The Work on the Stairs
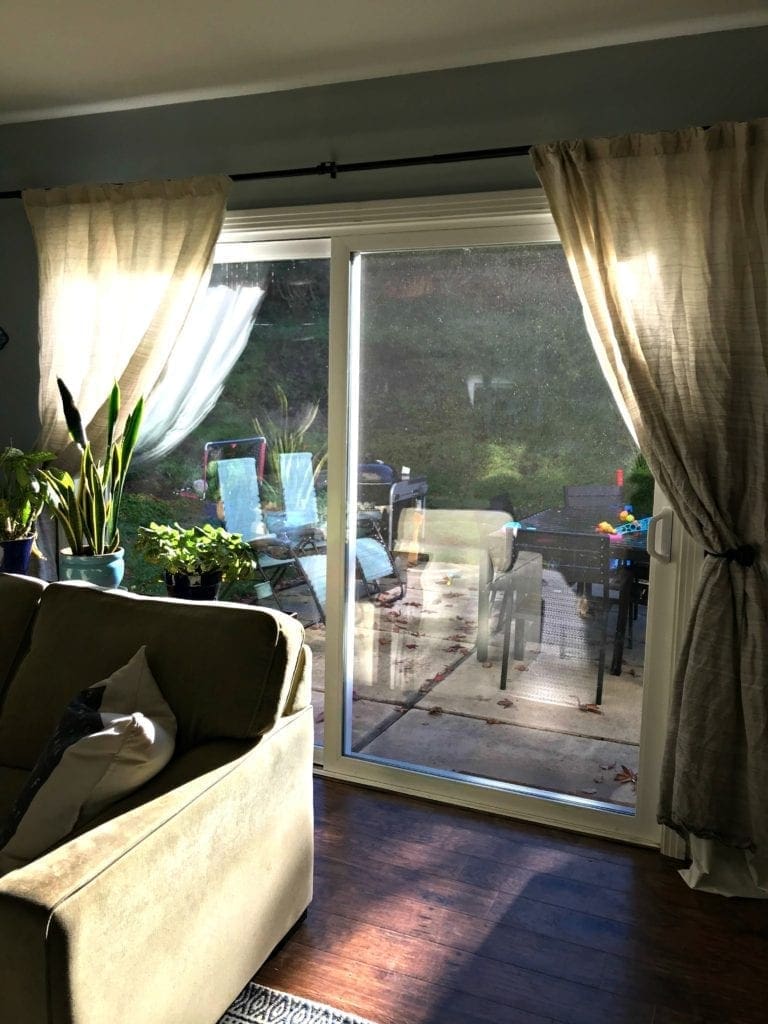
Once the contract was signed, we had to wait for space in their schedule. Of course, the first available time they had was precisely when I had the windows being replaced, so we had to push out an additional week so that the two projects didn’t overlap. I don’t think it would have been an issue if we didn’t have two large picture windows right above the stairs.

The company I used, Kleinsmith Stair and Trim, had the whole process down to a science. The first carpenter came, removed the old stair railing, and installed the new wood posts and railings. This process took two days.


The second phase was the staining. They matched the stair color to our floors (Napa Valley Tobacco Hickory) and finished that section in one day. The third was a finishing carpenter who installed all the balusters and finishing pieces.

I have to say that beyond some amazing craftsmanship, they were all wonderful people. Super friendly and respectful of our home. They were all incredibly talented.
New Lighting
This space wouldn’t look finished until I changed out the light fixtures. While they had been updated at some point, they still didn’t fit my style.

I found this foyer light and this chandelier at Joss and Main. The upstairs hallway light was updated with a flush mount light from Home Depot.
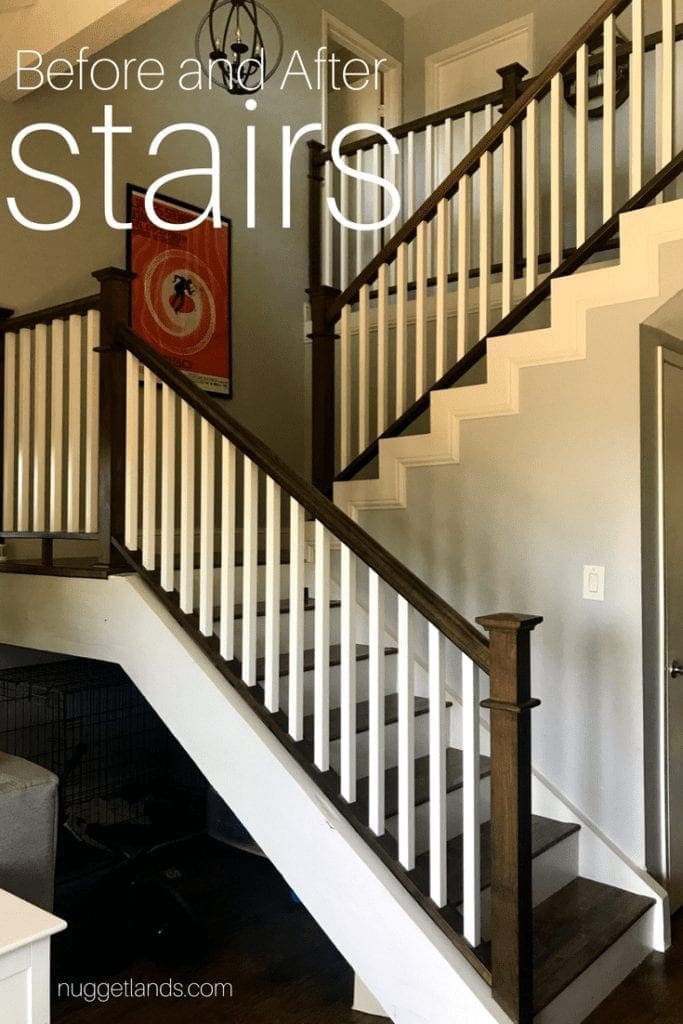
Staircase Remodel After

Going into this project, I knew that it would make a huge difference. We did it out of necessity but knew it would ultimately increase our home’s value. I was surprised with how much of an impact this made.


Not only does it look incredible, but it has also changed the entire way this house feels: updated, safe, and warm. The investment was worth every penny.


We loved this renovation so much that our next project was to create a special reading nook under the stairs for the girls. I love how it turned out; honestly, it’s one of my favorite hiding spots.
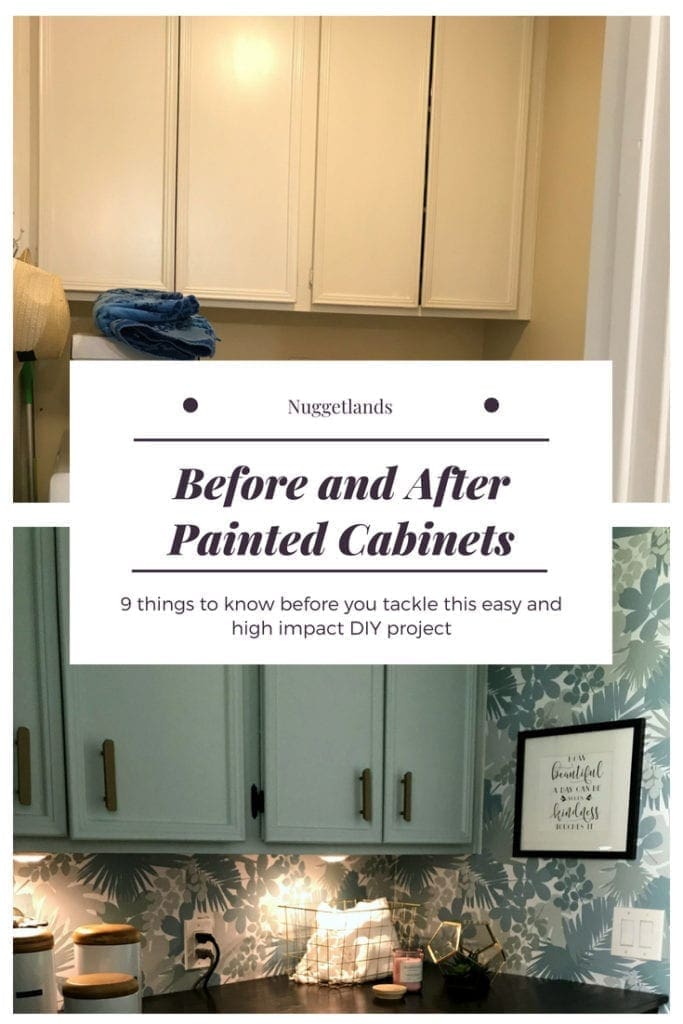
We’ve done other projects that you might like, no contractor required: kid’s beach bathroom update, laundry room renovation, and our outdoor string lights.

How much did this cost?
All together about $5500, that includes the lighting and the electrician.
Do you recall the shade of stain you used?
I don’t because it was a stain that the contractor had. The name of the flooring is Napa Valley Tobacco Hickory.