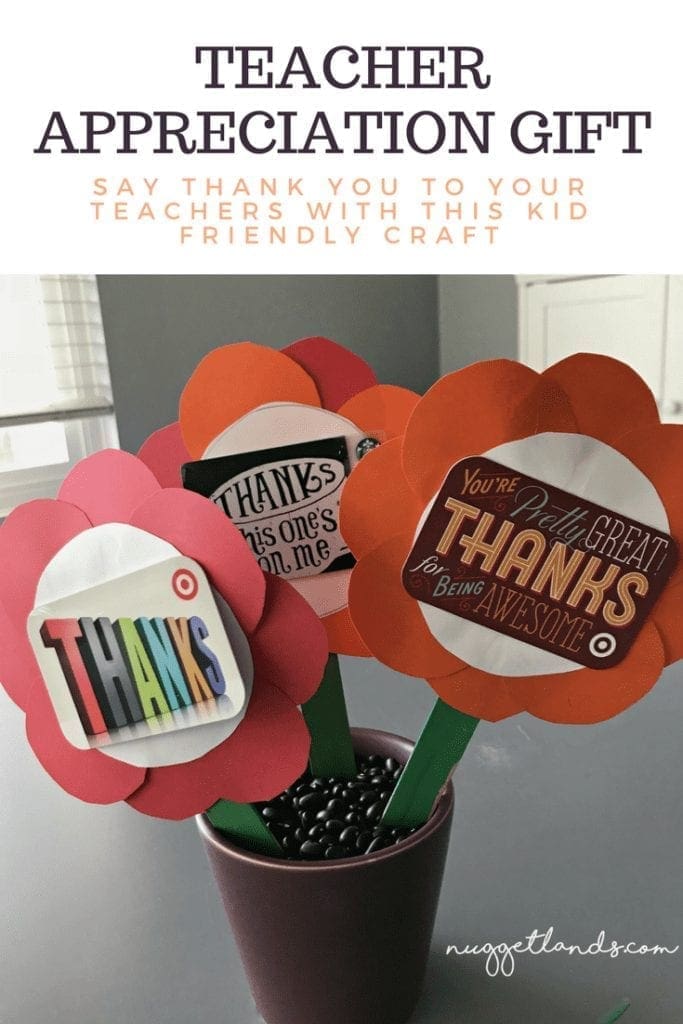
Teacher Appreciation Craft
It’s Catholic Schools Week in San Diego, which almost means it’s Teacher Appreciation time. Last year, we had just started preschool the week before, and I literally just had a baby so our gift was a card and some money. It was greatly appreciated, but I wanted to be a little more crafty, and frankly prepared, this time around. This year’s theme is “Bloom and Grow” so I put together this teacher appreciation craft for Big Nugget and me to do as a thank-you gift for her wonderful teachers.
This post contains some affiliate links – meaning if you click through the links and buy anything, the retailer will pay me a small commission at no additional cost to you! `
Teacher Appreciation Craft
I knew I wanted to do a teacher appreciation craft that used things that I already had and was somewhat easy. I also wanted to do something simple that a preschooler could help with – I didn’t want this to turn into a Mommy craft and kid watches project. The school had sent home flowers for the kids to cut out and color, so that was where this idea stemmed from – see what I did there???
Supply List
Here is what you will need:
Card Stock – I love having this stuff at home for projects.
Popsicle sticks – These were left over from our wedding but another good item to have on hand for projects.
Green paint – we use washable. Always washable.
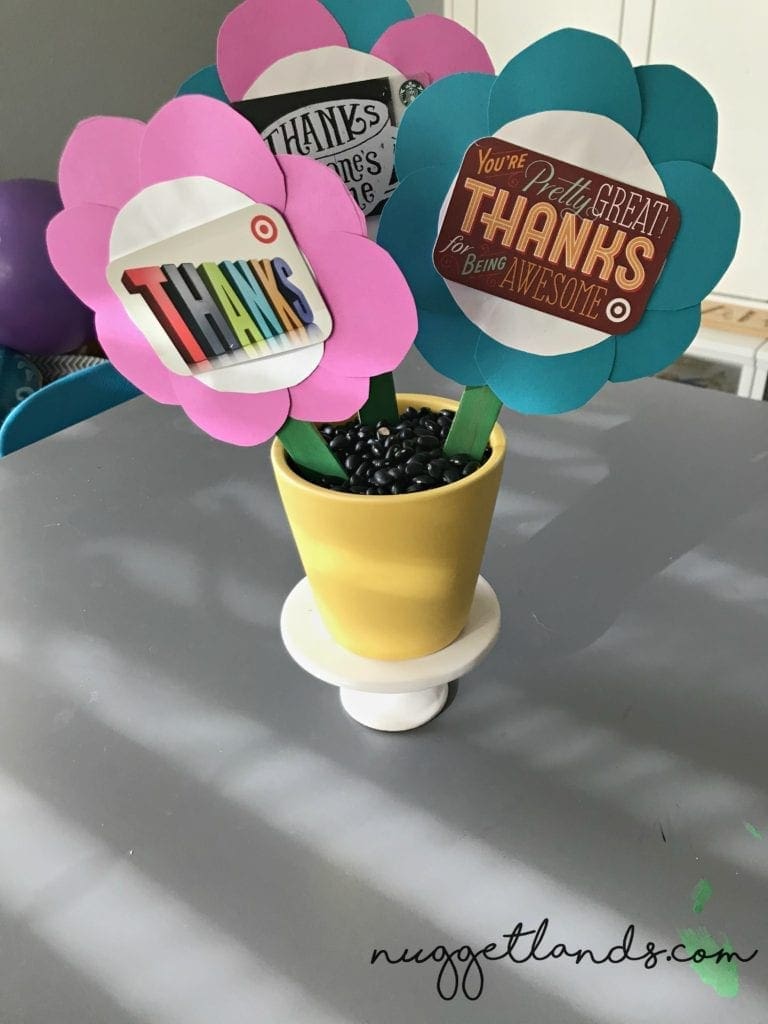
Flower Pots – I found some Project 62 4-inch stone planters at Target on an end cap (and can’t find them online), but you could easily use something like this or small terra cotta ones and have your child paint them.
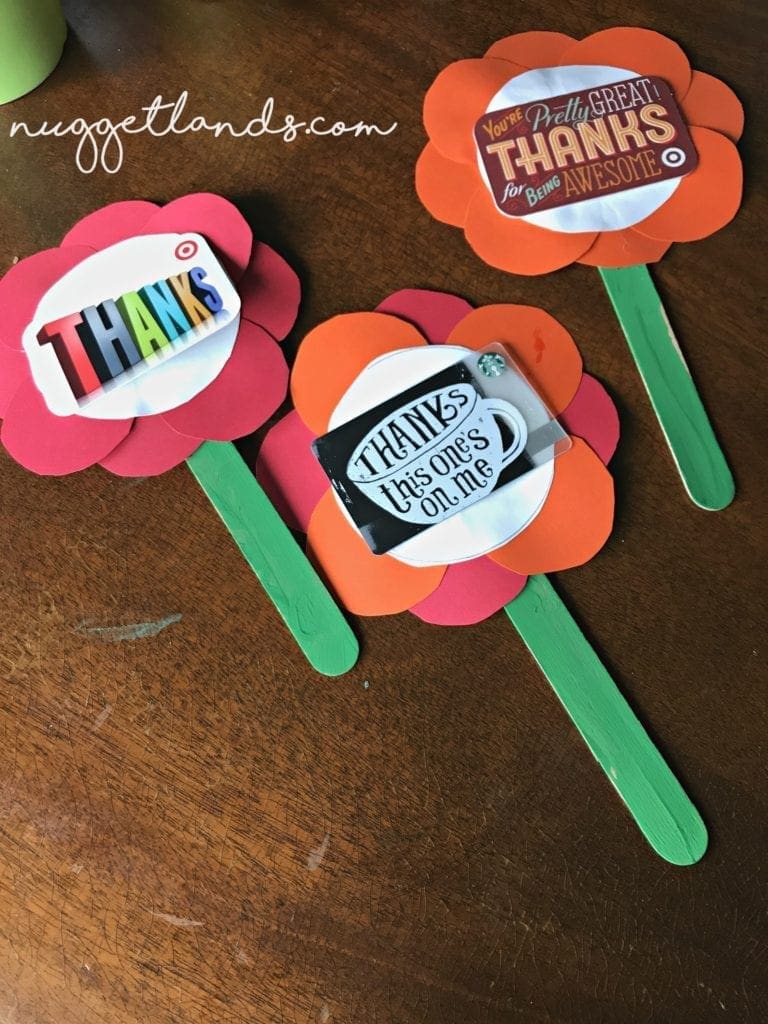
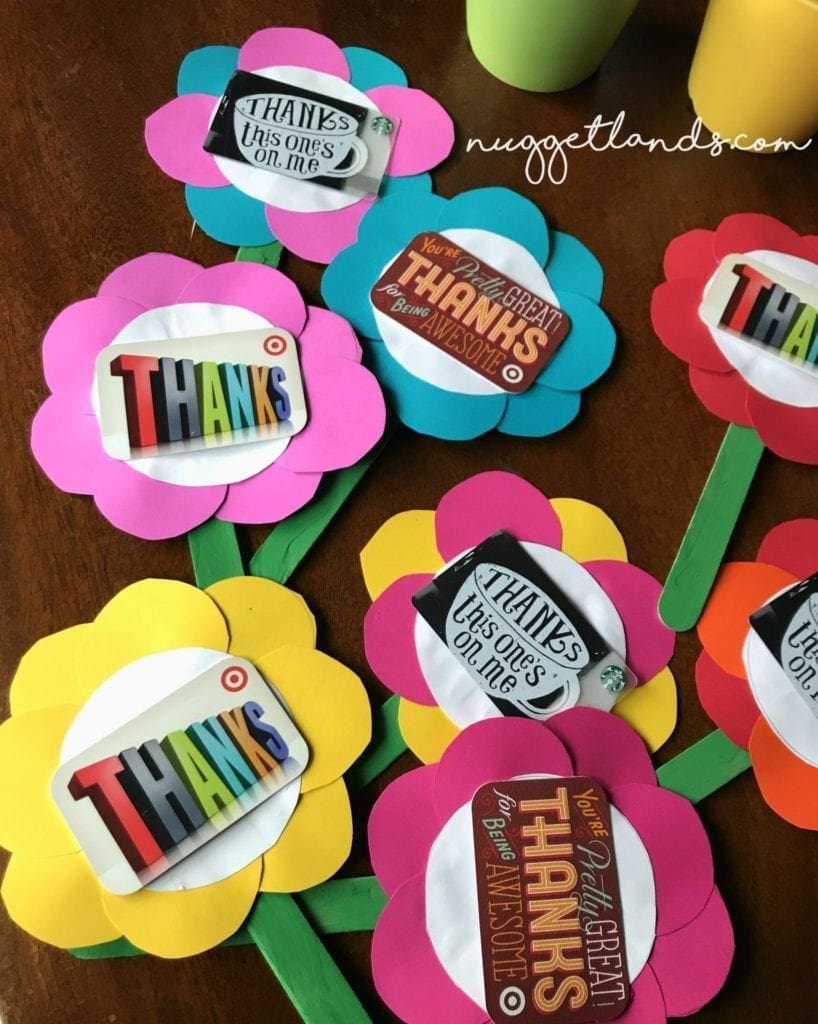
Gift Cards – I got two from Target and one from Starbucks. I liked having the cards say Thank You on them for the center of the flowers.
Black Beans – Used in the flower pot to hold the sticks up, and they also look like dirt.
Glue – We used both Elmer’s Glue to assemble the flowers and hot glue to attach the sticks and gift cards.
Side note: Michael’s currently has 2% back on Ebates. Read more about my Ebates rant here.
Instructions
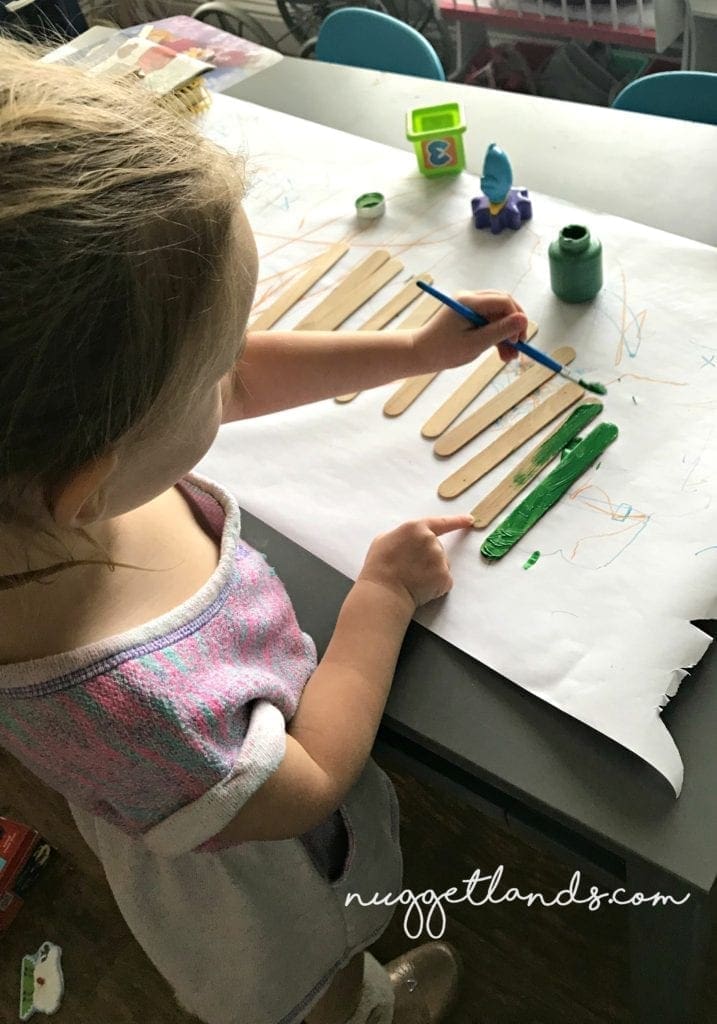
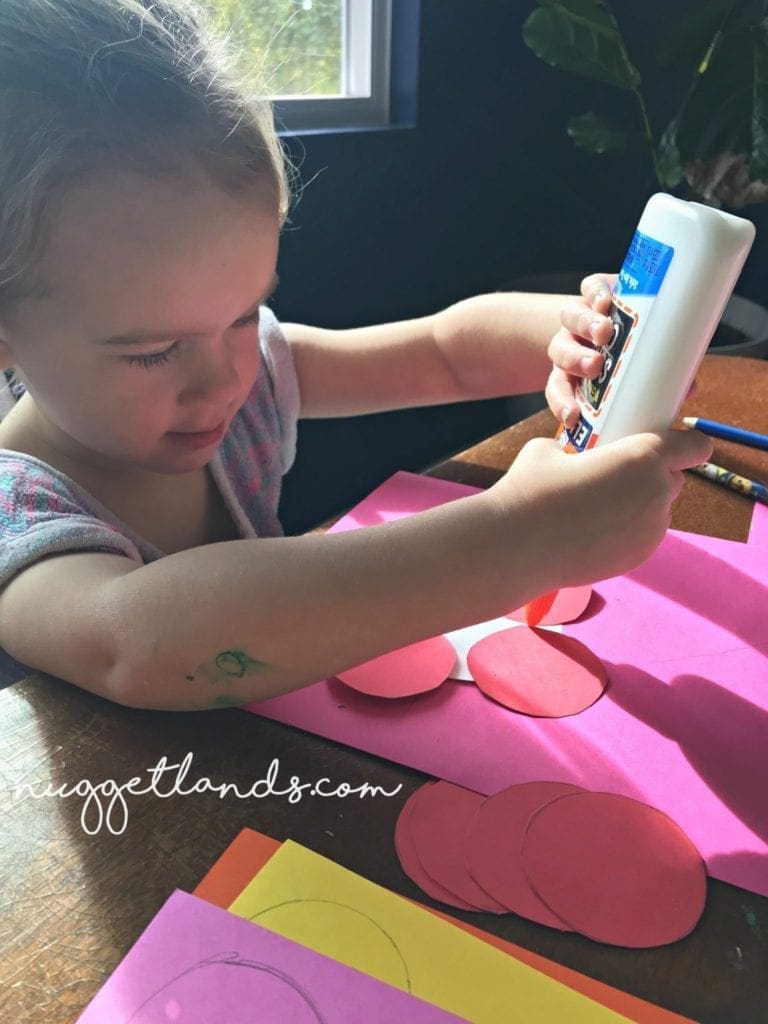
I had Big Nugget paint the popsicle sticks green. I had her do this part first so that they had time to dry.
Side note…she did this while I was putting the baby down for a nap with minimal mess, followed my directions, and even cleaned up and washed her hands. It felt like a huge milestone.
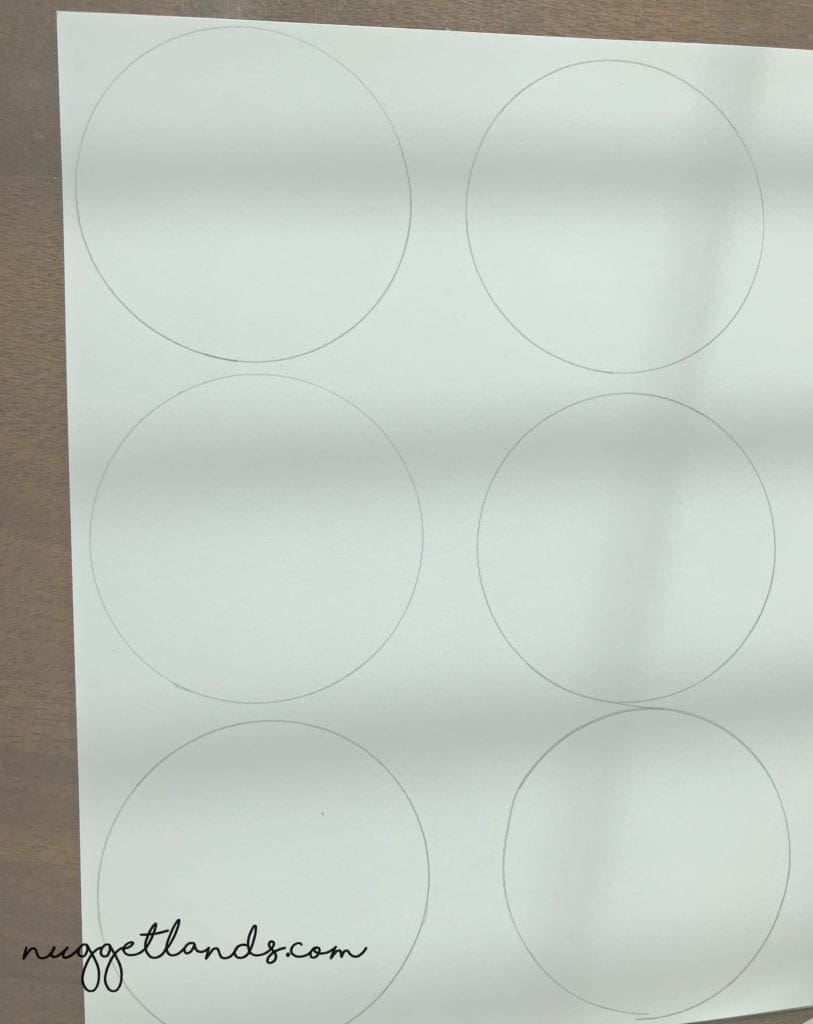
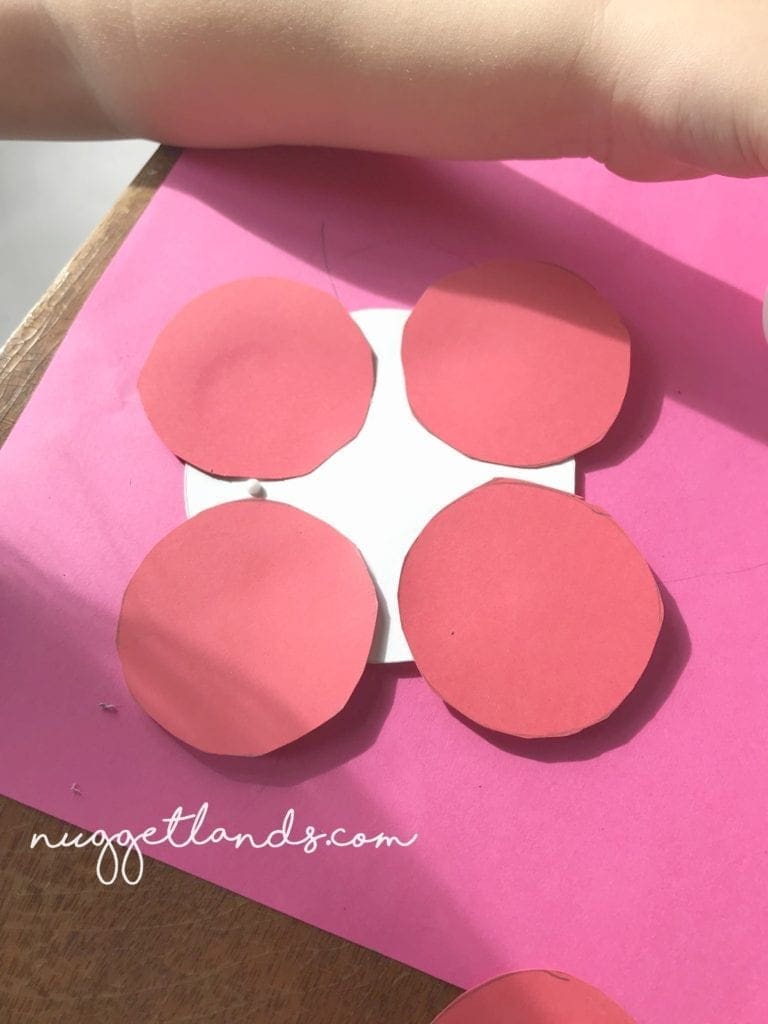
Traced the center of the flower with a water cup – I wanted it to be big enough to hold the gift card but not too big proportionally to the flower pot.
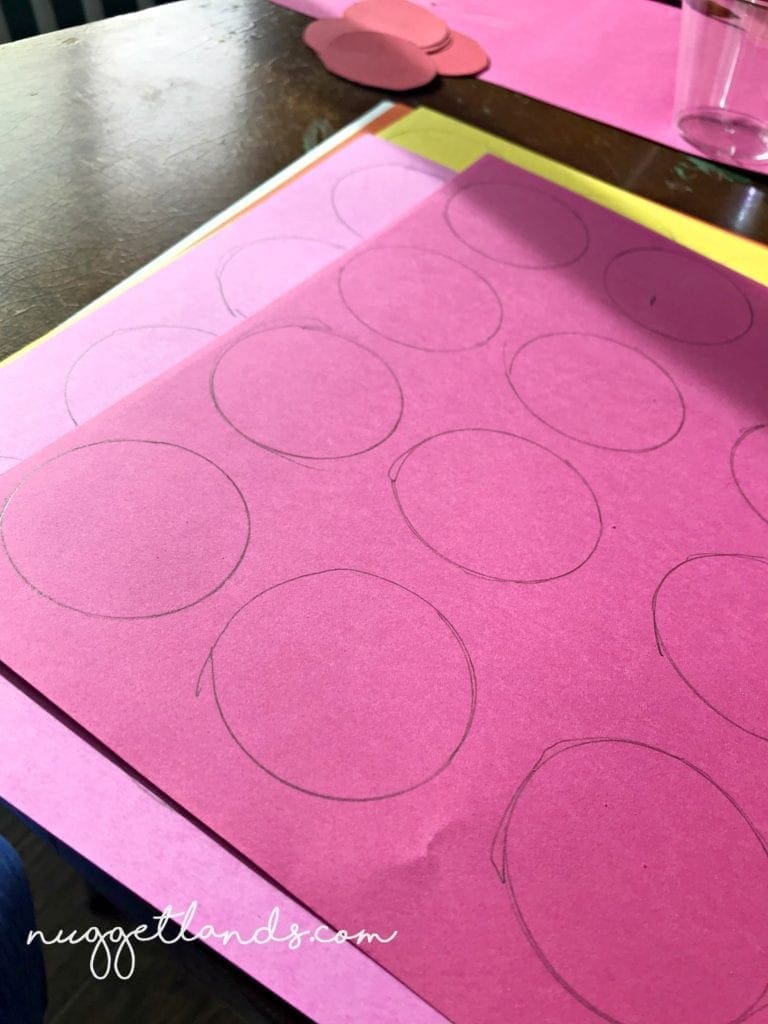
Big Nugget helped me trace the flower pedals using the small end of a plastic cup.

We did two colors per pot and you need eight petals per flower. I did 12 pedals on one page, leaving me enough to do one flower in each color and then mix the colors on the third flower.
Glue the first four pedals down so they make a square.
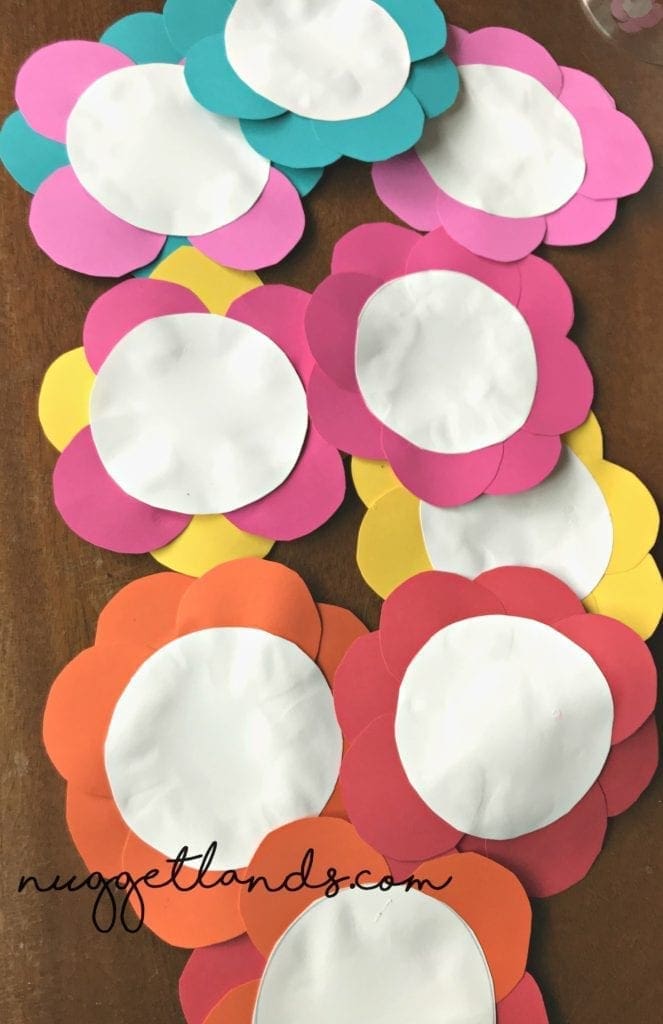
Fill in the other four pedals in between the first ones.
These are your finished flowers. Let them dry completely before you glue anything else to them.
Use hot glue to attach the green stems and the gift cards. Be careful glueing on the back of the gift card, you don’t want to get it on the magnetic strip or the scratch off and bar codes.
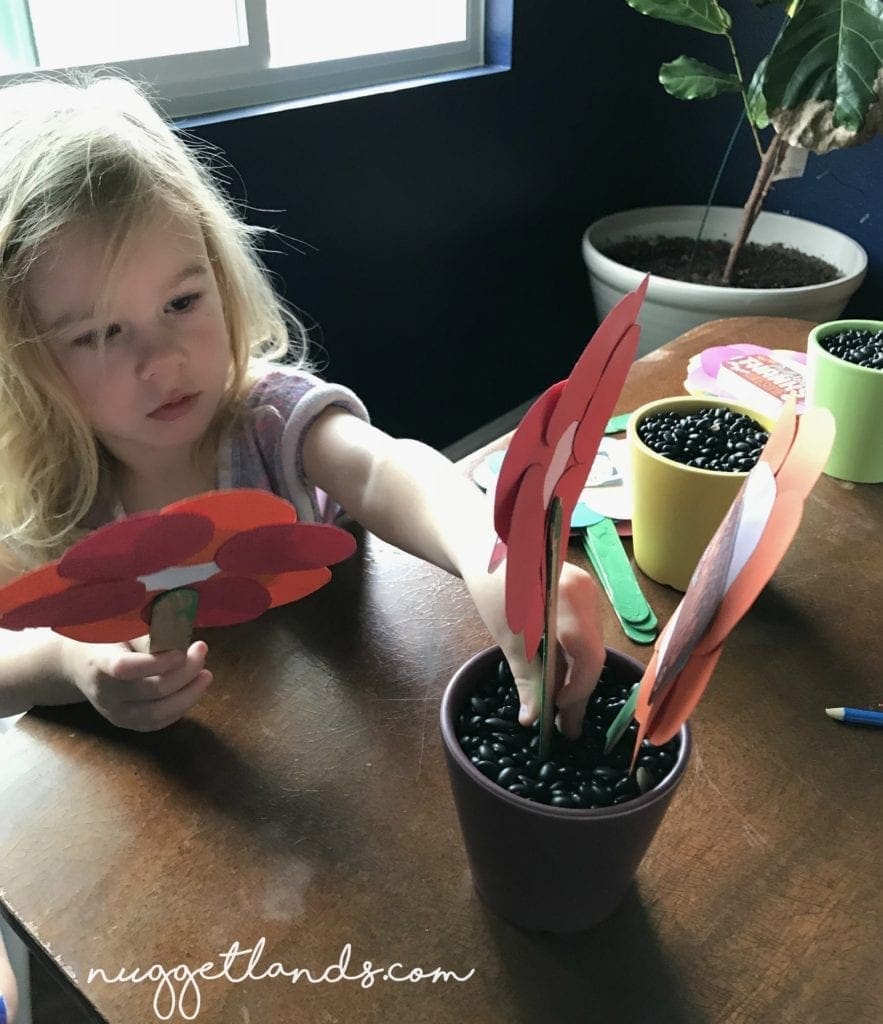
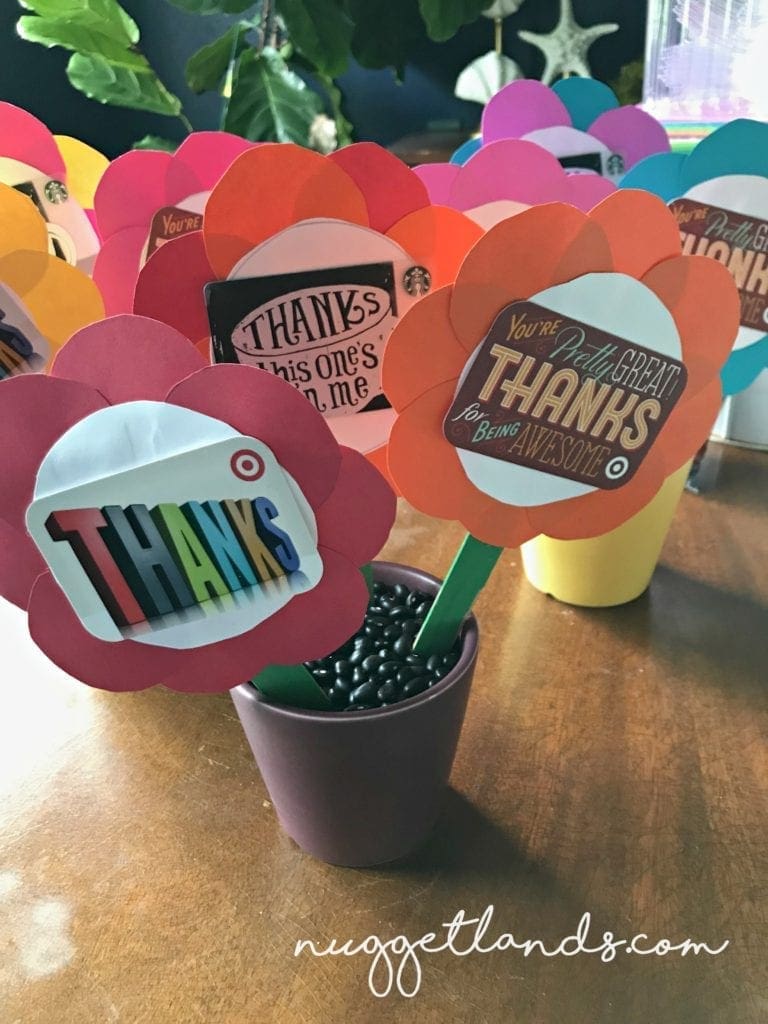
Fill each pot with black beans and put three flowers in each pot. I also had her sign her name under the Starbucks gift card.
Teacher appreciation craft complete and ready to be handed out at school.
It was such a simple teacher appreciation craft and easy for us to do together with minimal mess, not expensive and a fun way to spend time together. It’s the very least we can do to show our incredible teachers how much we appreciate all they do for our kiddo.

So simple but SO stinking cute! I love that the gift cards are featured right in the flowers. Well done mama!
Thank you!!!