How to make a unique DIY Pine Cone Halloween Costume
Are you ready to unleash your creativity this Halloween? Here’s an exciting DIY project that combines nature and imagination – a pinecone costume vision! With just a few simple materials and some crafting skills, you can transform yourself into an enchanting woodland creature.
To begin, gather some pinecones of various sizes and shapes. These natural treasures will be the centerpiece of your unique costume. Take a moment to admire their intricate textures and subtle hues, as they will inspire your design.
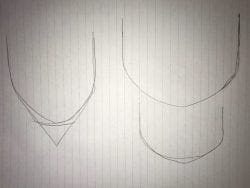
Next, sketch out a pine cone drawing in your notebook. Let your imagination run wild as you explore different patterns, colors, and textures. This step will help you envision your ideal cone costume in English, ensuring a cohesive and visually appealing final product.
Now, it’s time to bring your vision to life! Begin by selecting a base for your costume, such as a plain brown jumpsuit or dress. This neutral canvas will allow your pinecone-inspired elements to take center stage. Attach the pinecones strategically to your outfit using hot glue or thread, creating a captivating texture similar to that of an actual cone.
Enhance the overall effect by incorporating additional natural elements. Consider attaching small branches or faux leaves to add depth and dimension to your cone costume. For an extra touch of realism, paint subtle brown and green highlights on your outfit to mimic the natural tones of a pinecone.
To complete your transformation, don’t forget to accessorize! Craft a whimsical crown using twigs and leaves reminiscent of a magical forest. You can even create a matching pinecone handbag or brooch for added charm.
Now, step back and admire your masterpiece. You’ve turned a simple pinecone costume vision into a stunning DIY creation, ready to wow everyone at the Halloween party. Embrace your inner woodland spirit and embrace the magic of nature this Halloween.
Step by Step Instructions on How to Make this Unique Halloween Costume
When my oldest daughter was three, we talked about what she wanted to be for Halloween. We scrolled through Amazon looking at all the costumes. She loved the Paw Patrol ones and thought the Batgirl costume was pretty cool but then told me, “No, no, no, I want to be a pine cone for Halloween”. And it stuck. I asked her about it the next day, “I want to be a pine cone”. Finally, we made the trip to the craft store, and she decided that even though she loves pink AND purple, a pine cone it is.
While I adore her creativity and uniqueness…..not even on page 147 of Amazon’s costume selection am I going to find a pine cone costume. I did find a pine cone mascot for 327 UK Pounds. No. Thanks. And one DIY project on Pinterest, but didn’t fit our pine cone vision.
I don’t shy away from craft projects, especially for one of our favorite holidays! Looking for other Halloween inspiration or an easy recipe for Halloween Rice Krispie treats, then I’ve got you covered. Check out my Ultimate Guide to Halloween Activities which has over 40 ideas on crafts, treats, decorations, and fun things to do!
This post contains some affiliate links – meaning if you click through the links and buy anything, the retailer will pay me a small commission at no additional cost! I never link to anything that I haven’t used.
Supply List for this Toddler Halloween Costume:
- Brown T-shirt
- Brown Tutu
- Brown Felt
- Craft Paint
- Sponge
- Glue – hot glue AND fabric glue
How to Make a Pine Cone Costume
I ordered a brown t-shirt and brown tutu from Amazon to use as the base, and they were surprisingly affordable. Then, I bought a few pieces of felt to experiment with to make sure that it was the right fabric. Felt is easy to work with because it’s hardy, forgiving, and cheap! I got a few sheets for a dollar and experimented with a few sketches on the shape of the pine cone pieces. There is a fine line between a pine cone and an owl feather, so I made sure that we stayed in our pine cone lane. Once I settled on the shape, I traced it on the felt and cut a few out.
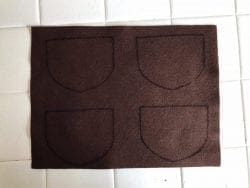
Once I was happy with the size/shape, I bought a yard of brown felt and cut out as many pieces as I could. I laid them out on the shirt and tutu to get the pattern right. It felt like it was lacking depth.
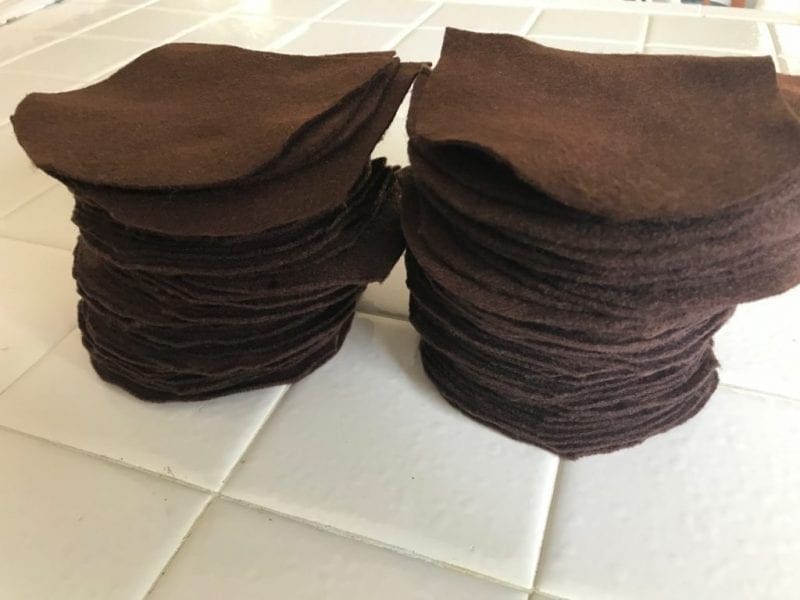
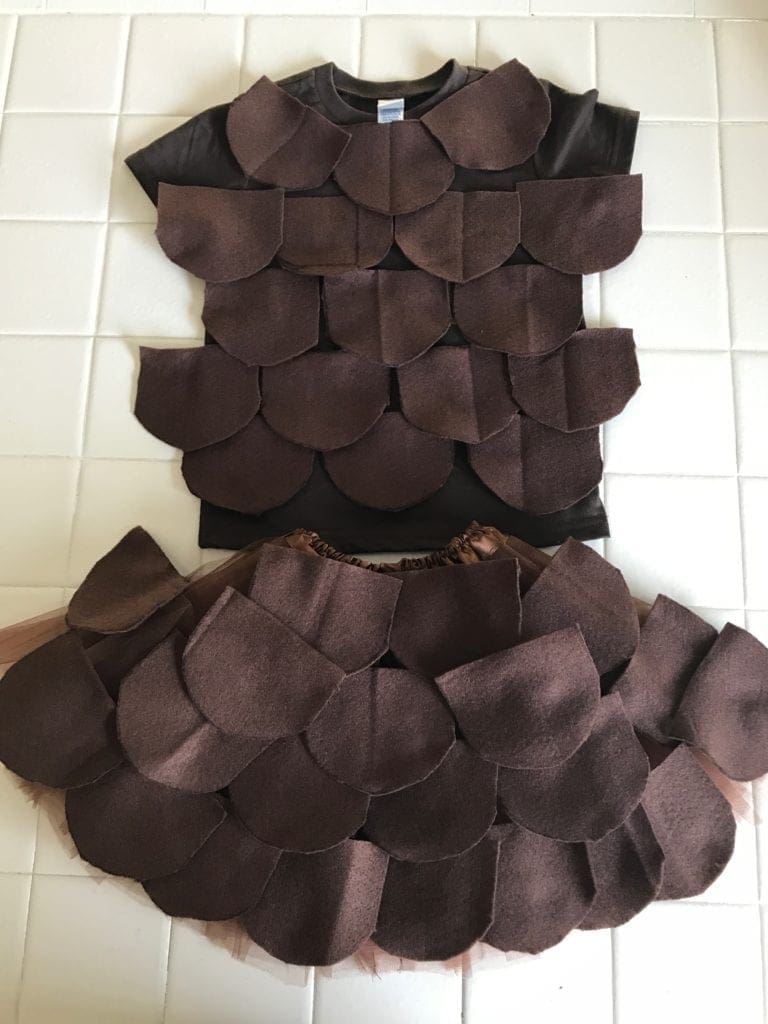
I bought some light brown craft paint and sponge painted the edges of the felt. I flattened the tutu and started laying out the felt with straight pins.
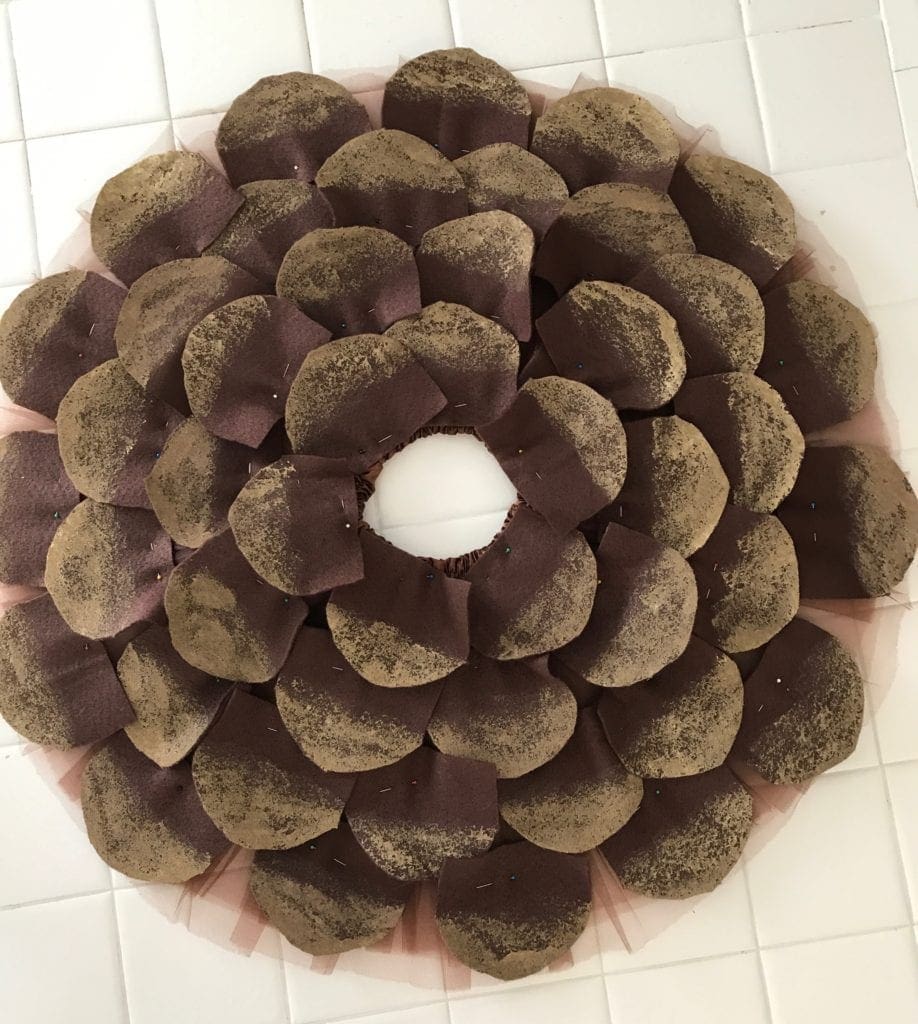
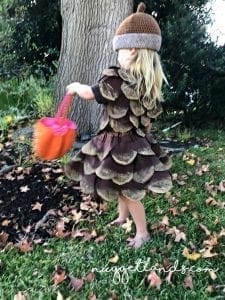
Then it was time to glue. I started from the bottom and ended up not doing the top row shown above. I didn’t want to lose the elasticity of the waistband because of the glued felt. The No-Sew fabric glue worked pretty well but I ended up having to use my glue gun on a couple of spots. I still felt that she needed something on her head. Thankfully I found this hat on Etsy and it was perfect.
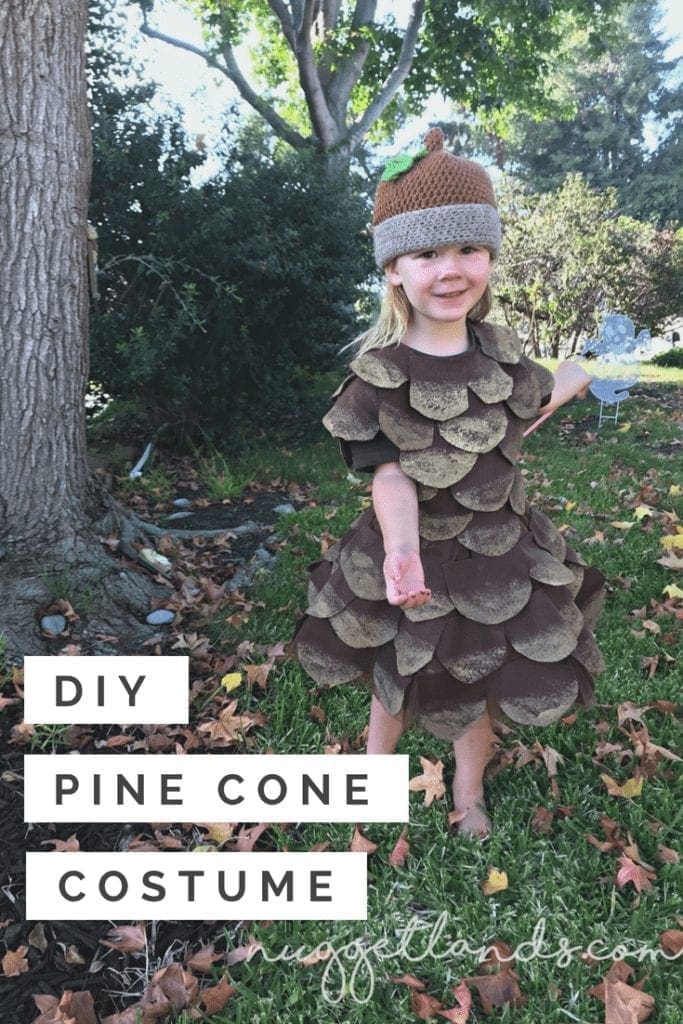
The finished pine cone
I’m pretty happy with how this turned out. The true test will be if it can withstand the dance class, school parade, and actual trick or treating. The most important part is that Big Nugget is so excited about her costume.
Update – it made it through all of the events that we had for Halloween! Super durable and such a unique costume – it’s 3 years later and one of our dance teachers still has a picture of Big Nugget in this costume on her phone.


Sooo cute!!
Thank you! It was so fun to make.
Adorable!
Thanks Cyn! Took me back to our post 9/11 tshirt days. 😉
This is amazing.
Thanks Vicky!
So stinkin cute Alice! You’re so crafty! I’m impressed.
Thanks Trina! I used to do it a lot – pre-kids – when I had more time and no worries about choking hazards.
That costume is amazing! She looks so adorable.
You have missed your calling Alice, that’s fabulous. She looks like a hobbit in the woods. LOVE it.
HA! Master Pine Coner? Has a nice ring to it.
Wow Alice .. that is awesome.. you are an awesome mom..
Thanks Cherri!
This is adorable!!!
Thank you! Such a fun project. A labor of love.
Hello, i Love this creative costume and i would like to try to make one like this for myself. How did you do this cap ? Do you have a craft instruction for it? I would be very thankful for your help.
Best regards
Katha
I bought the cap from Etsy – there is a link to it in the post. Hope that helps!