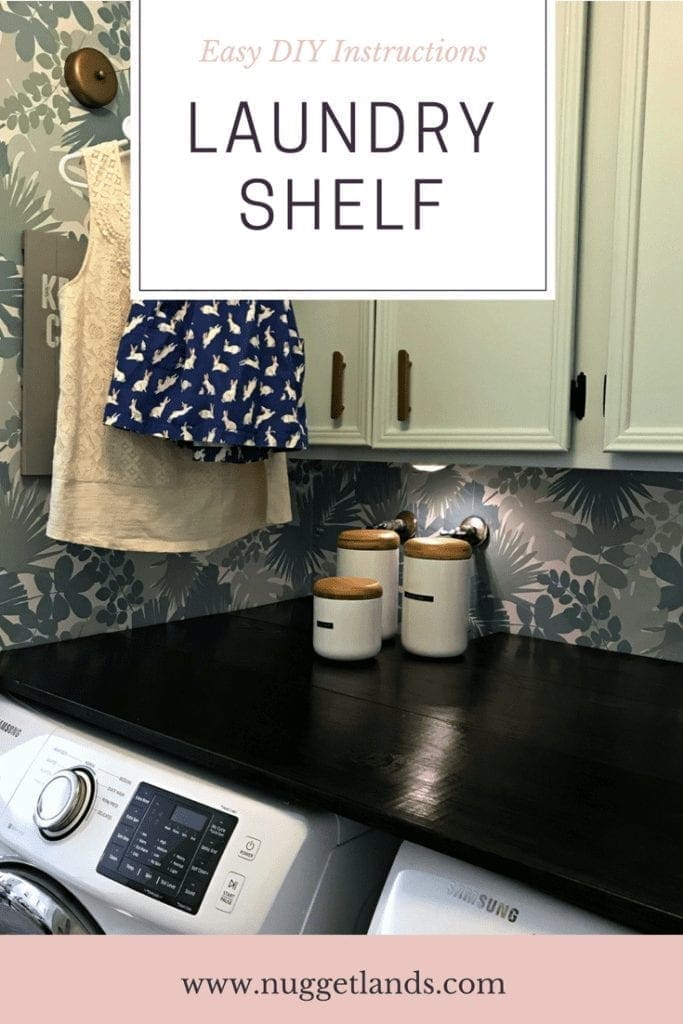
How to Build a Laundry Shelf

Our laundry room makeover is complete and the project that I’m most proud of has to be the DIY laundry shelf over the washer and dryer.
When I was pulling together the design board for this room, I knew that I wanted something over the washer and dryer. We had already used that space as a landing area, the laundry shelf would make it feel more intentional. It would also help muffle the sound of the washer and dryer a bit.
This post contains some affiliate links – meaning if you click through the links and buy anything, the retailer will pay me a small commission at no additional cost to you! I never link to anything that I haven’t actually used.
DIY Laundry Shelf
The plan was fairly simple. Line the surrounding walls with 1×2 boards and lay common boards on top to make the shelf. Here are my tips for creating a DIY laundry shelf.
1. Invest in sawhorses. If you don’t already have them, get some. They will make staining and cutting infinitely easier.

2. Measure obsessively. I was so worried that I was going to mess this part up that I probably would have finished the project a lot faster if I only measured twice. Labeling the back of each wood piece helped me keep track of what went where. Leave room for any hoses or cords that are above the shelf.

3. Cut everything first. We had the large boards cut at Home Depot. The wall supports and the hose cutout I did with a jigsaw. Be picky when you are buying your wood. Make sure your 1×2’s are straight and that your common boards are not warped and have some character to them.

4. Sand down the edges – it will give everything a more finished look.

5. Stain last. Follow the directions on the stain container and stain the edges and under parts if there is any chance it can be seen. I used the Minwax Polyshade in Espresso.


6. Use a good level and stud finder. All of the support boards were mounted at 30 inches high using either stud screws or drywall anchors/screws.


7. Connect the boards underneath to prevent sagging. Attaching a small piece of 1×2 across the boards will help support them. Pre-drill the hole through the support and be careful not to go too far into the common board.

See more pictures of the finished room here.